oMFT Quick Start Guide
This guide will help you get up and running with oMFT quickly. We'll cover logging in, creating your first connection configuration, and setting up a file transfer.
Accessing the Web Interface
After installation, access the oMFT web interface at http://your-server:8080 (or the appropriate port if you've modified it).
- Log in with the default credentials:
- Username: admin@example.com
- Password: admin
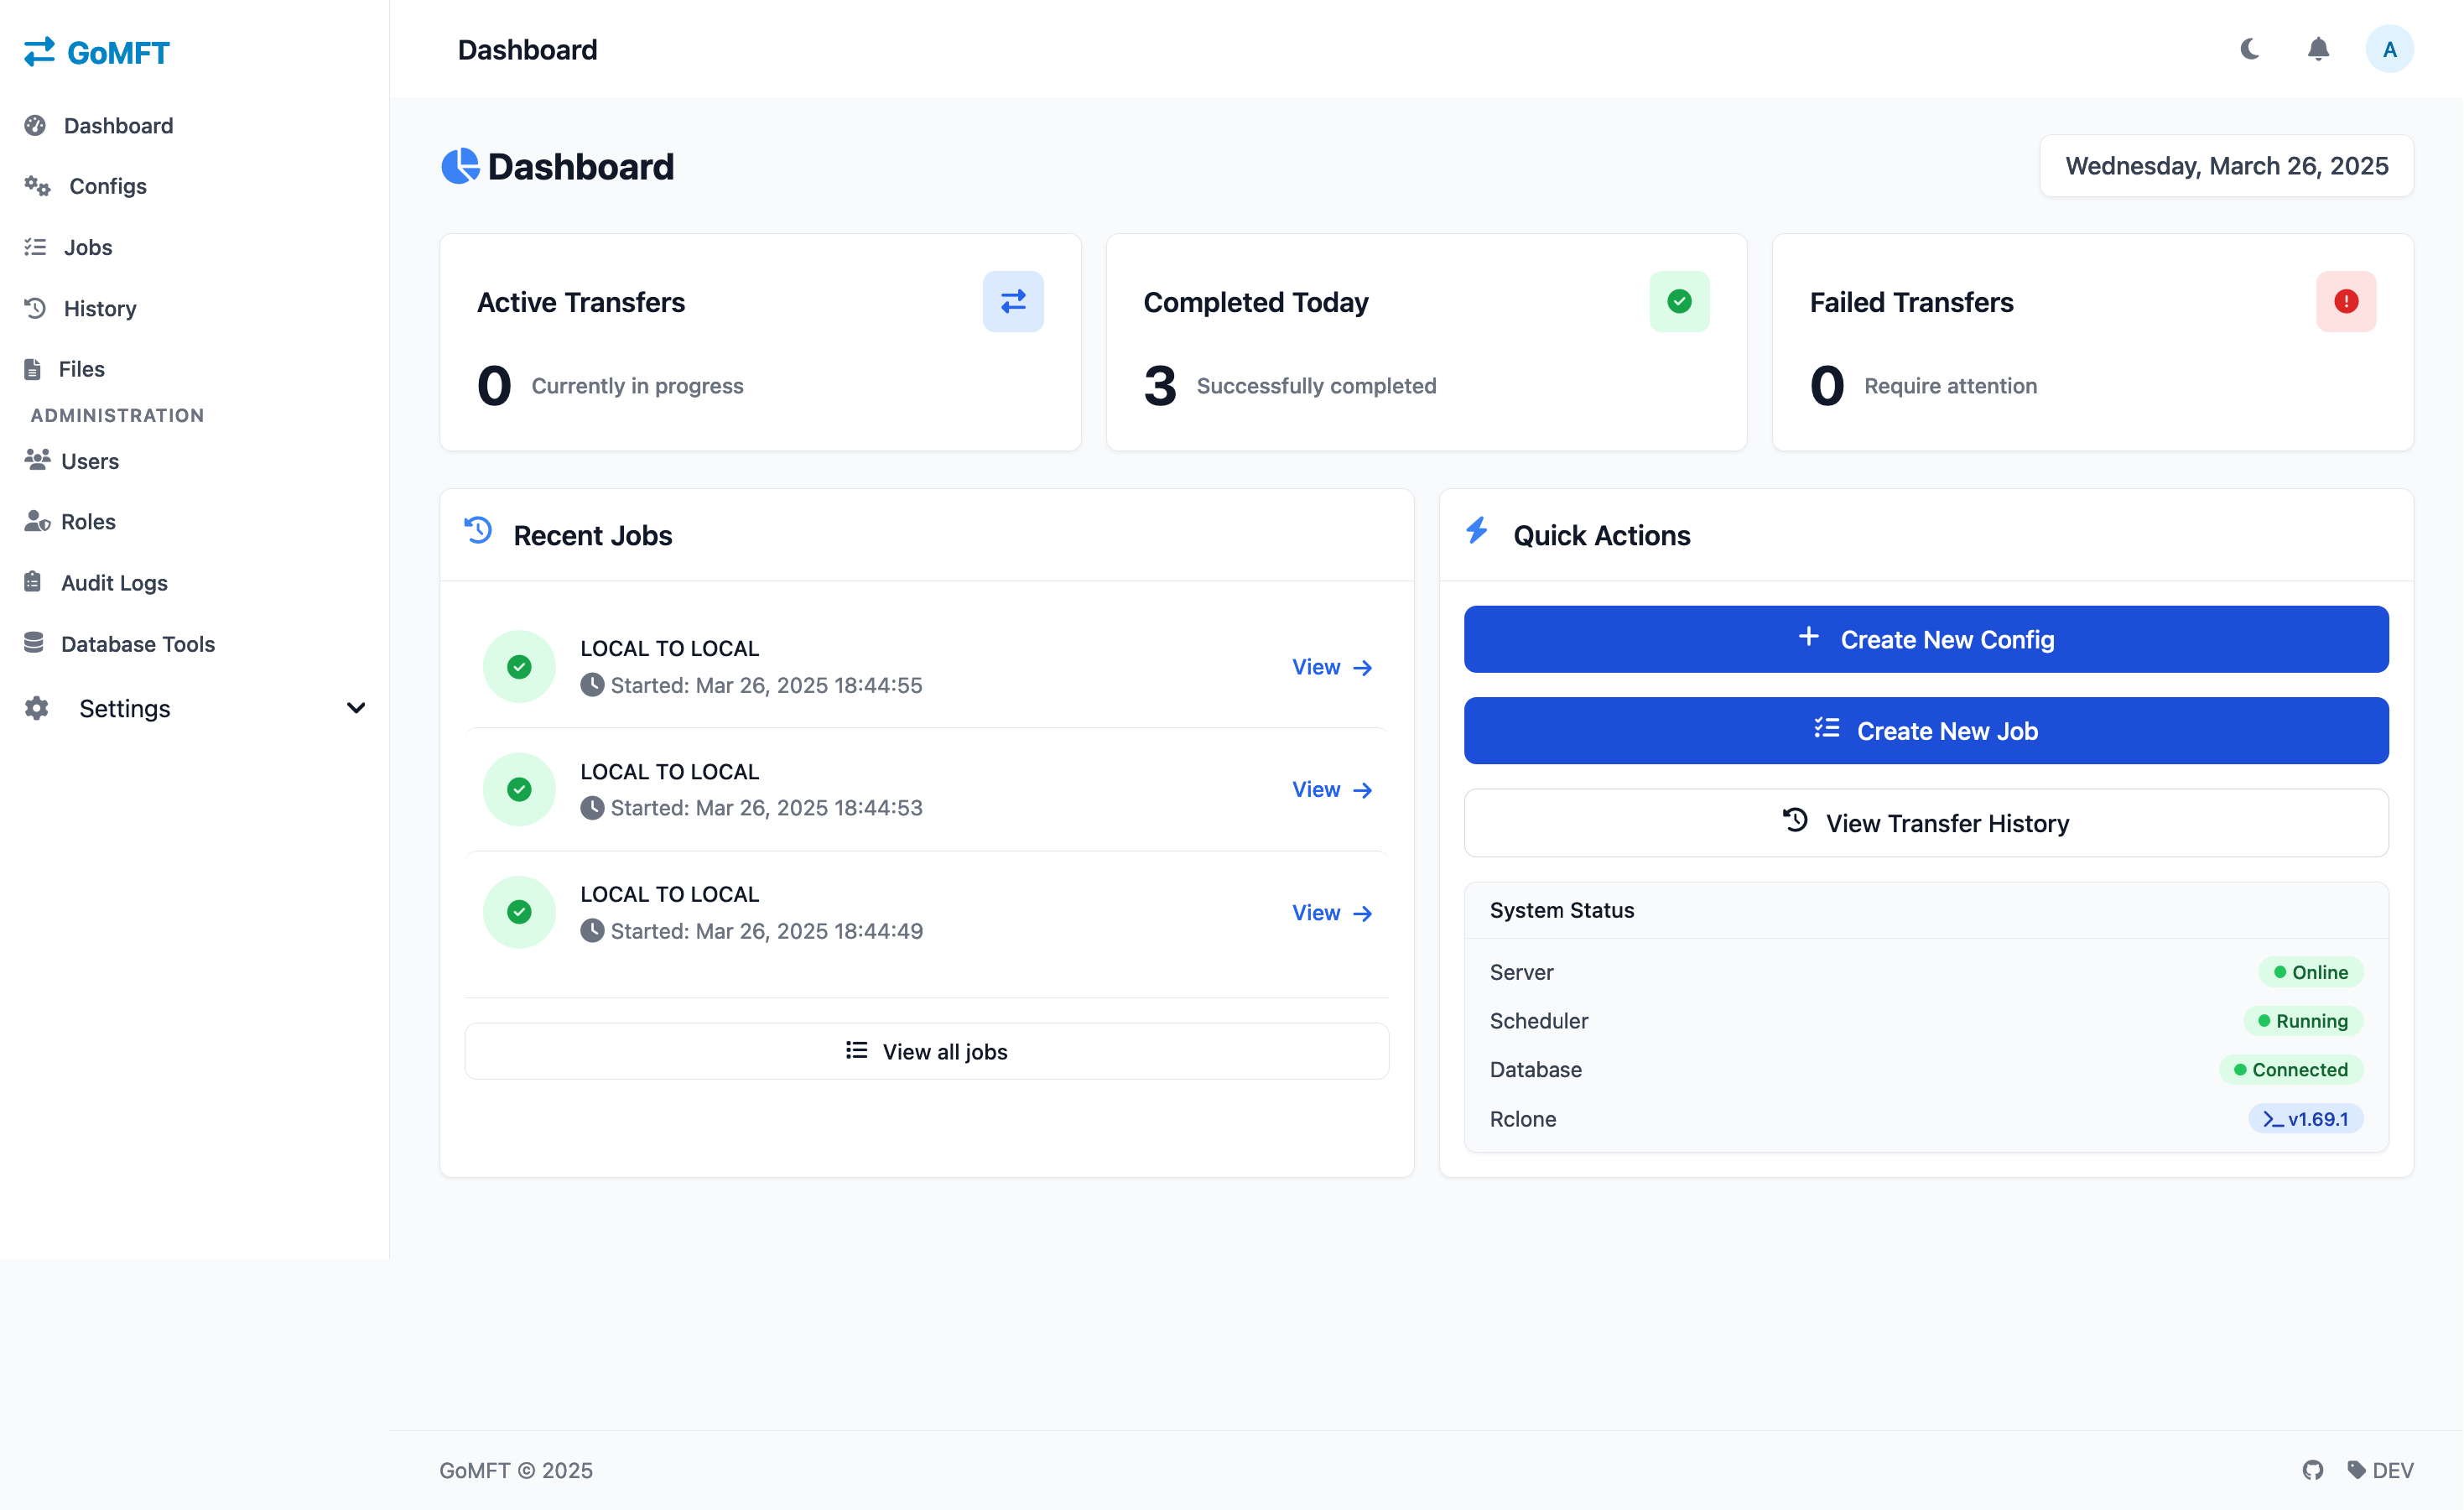
Initial Dashboard
The dashboard provides an overview of:
- Recent transfer jobs
- Upcoming scheduled transfers
- System status
- Quick action buttons
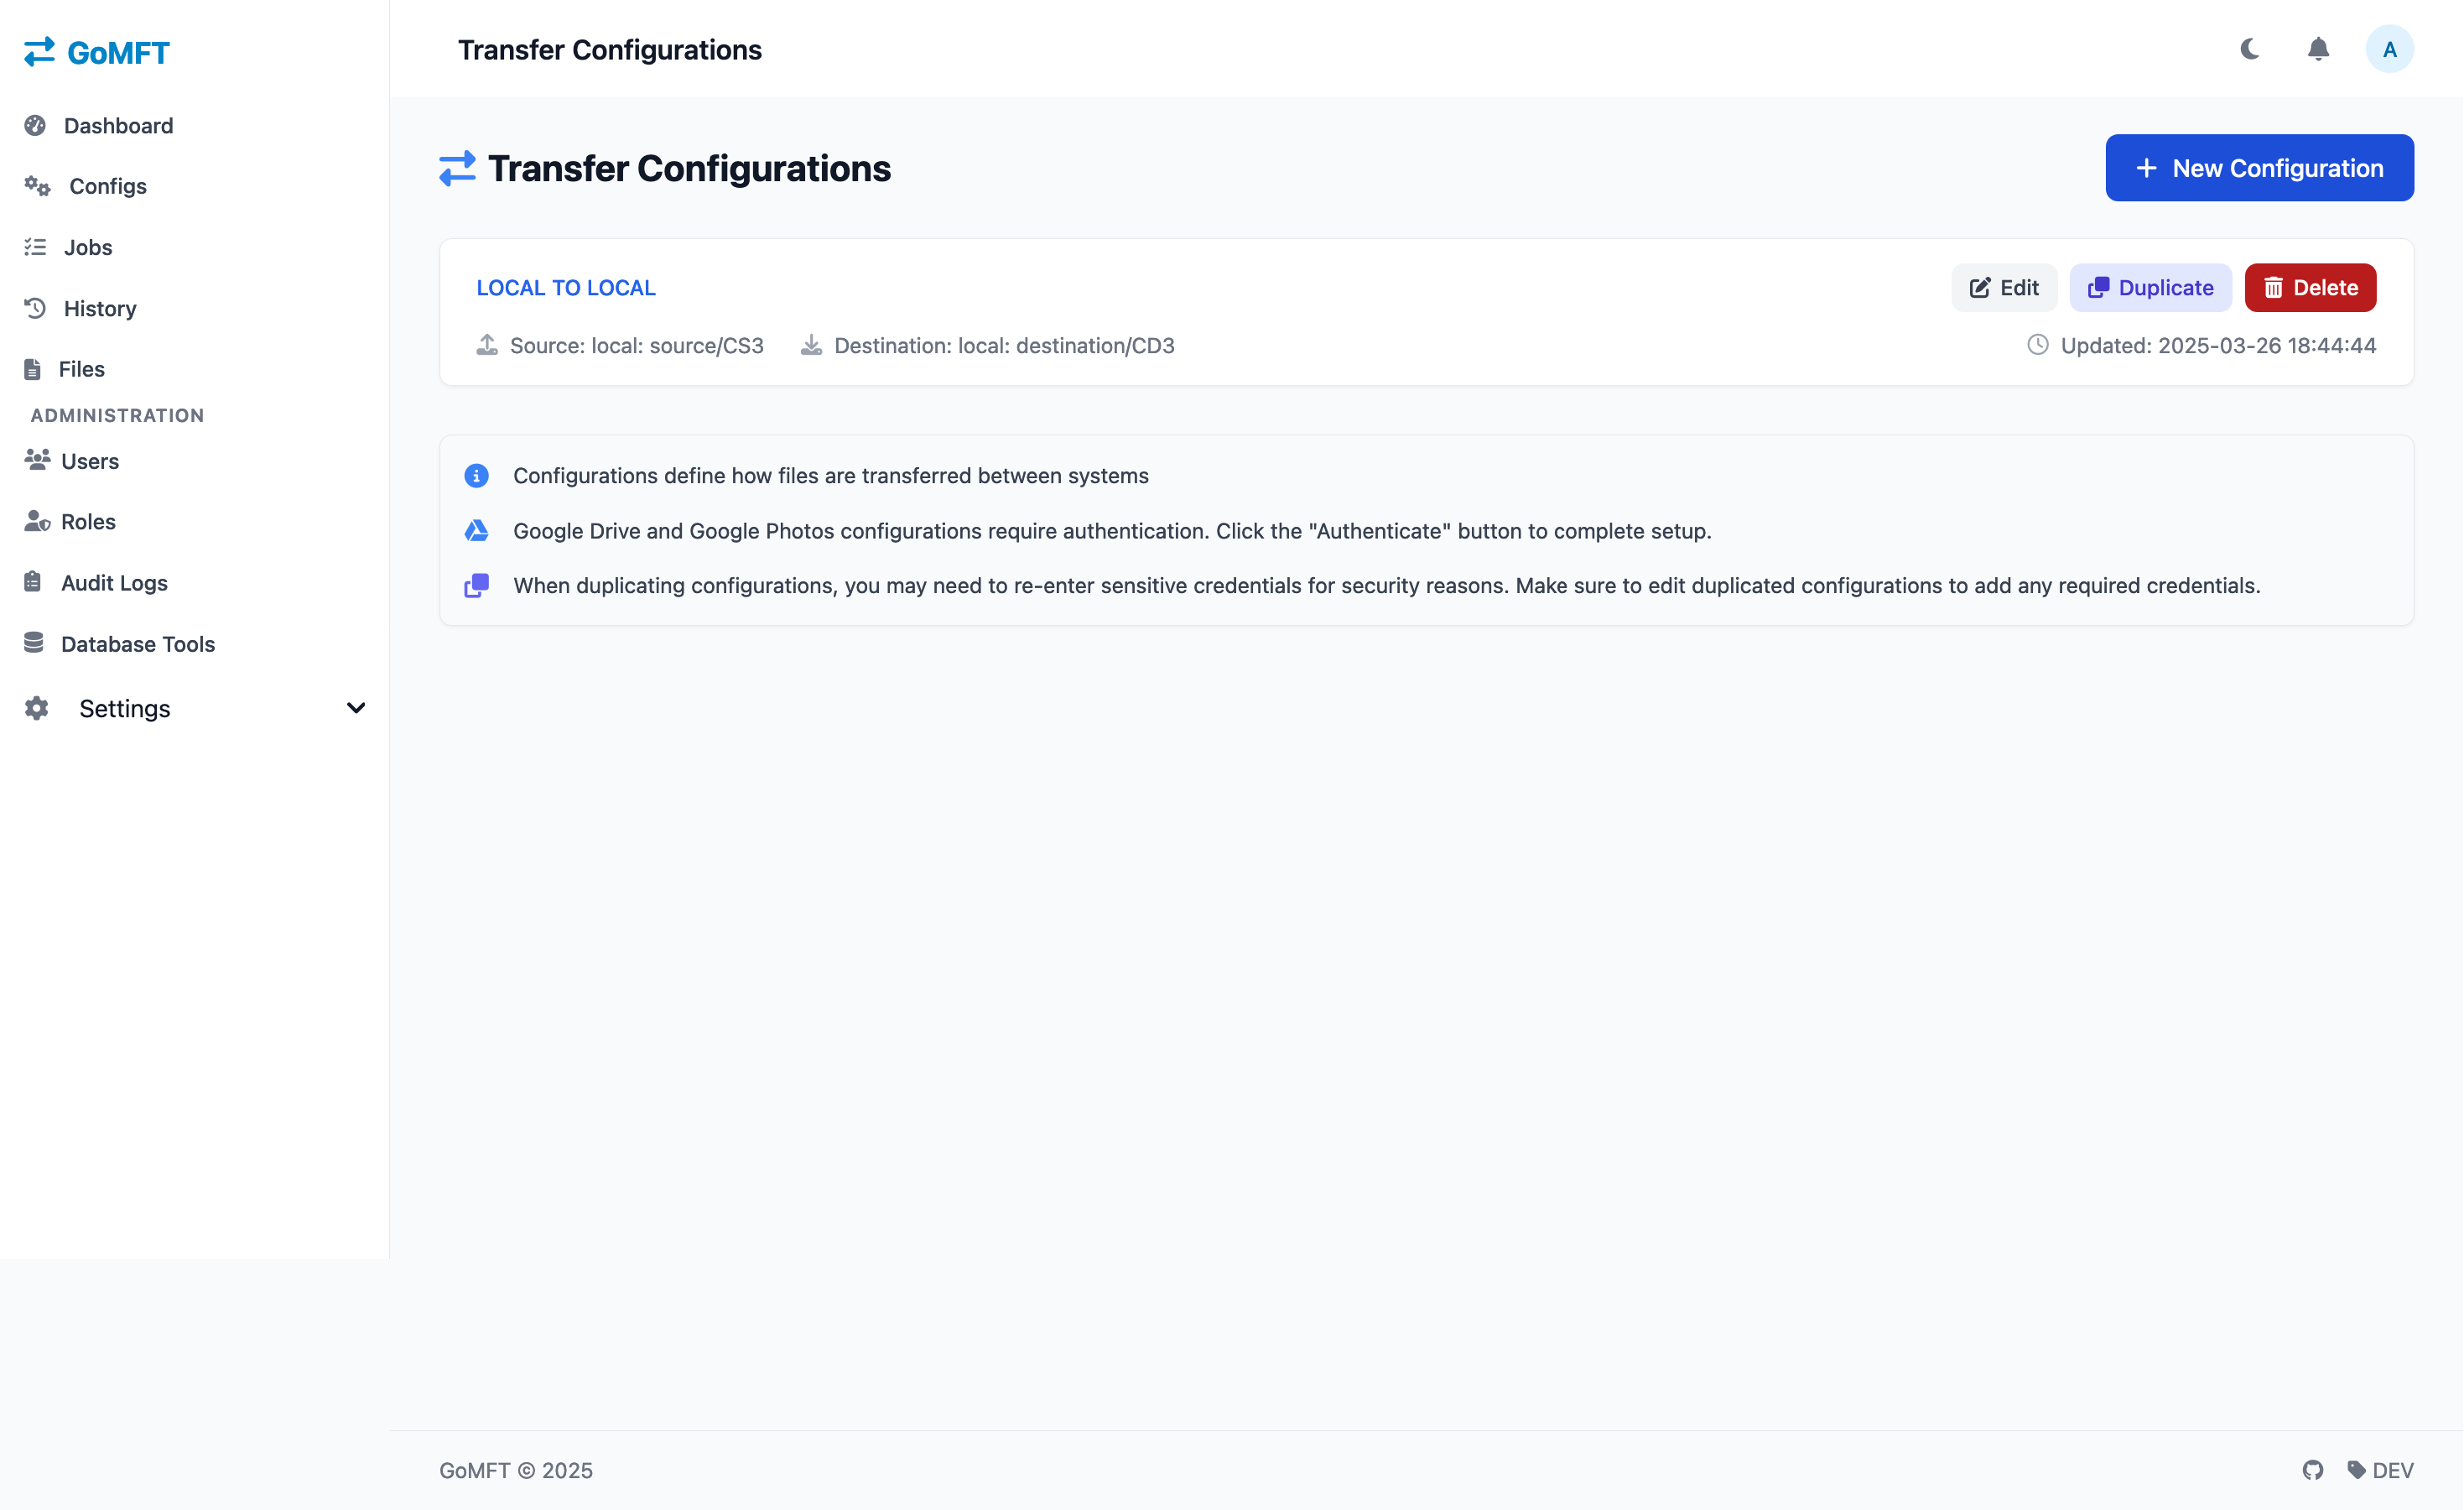
Creating Your First Transfer Configuration
- Navigate to Transfer Configurations in the sidebar menu
- Click + New Configuration
- Configure the transfer:
- Select source and destination configurations
- Specify source and destination paths
- Choose the transfer type (Copy, Sync, Move, etc.)
- Configure transfer options (file filtering, bandwidth limits, etc.)
- Click Save Transfer
Create Your First Scheduled Job
- Naviagate to Scheduled Jobs in the sidebar menu
- Click + New Job
- Configure the job:
- Specifiy schedule
- Select Job(s) to run this can be 1 or more
- Change job run order if needed
Running a Transfer
Once you've created a transfer configuration, you can:
Run On-Demand
- Navigate to Secheduled Jobs
- Find your transfer in the list
- Click the Run Now button
- The transfer will execute immediately
Schedule a Transfer
- Navigate to Schedules
- Click Create New Schedule
- Select your transfer configuration
- Set the schedule using cron syntax or the schedule builder
- Set additional options (timeout, max retries, etc.)
- Click Save Schedule
Monitoring Transfers
- Navigate to Transfer History to view all past and ongoing transfers
- Click on a specific transfer to view detailed information:
- Transfer status
- Start and end times
- Files transferred
- Bytes transferred
- Errors (if any)
- Transfer log
Next Steps
Now that you've set up your first transfer, explore these additional features:
- Docker Deployment - For containerized deployment
- Traditional Installation - For non-Docker environments
- Transfer Concepts - Learn more about transfer operations
- Scheduling - Advanced scheduling options
- Monitoring - Advanced monitoring capabilities